
welcome to digital media 11.
course essentials.
Please see the attached course description that includes information you will need regarding assignments, policies and much more.
|
|
|
| ||||||||
lightroom.
complete
lightroom mini unit project: iphone photographer
|
| ||||
- In this assignment you will be working with your iPhone to take your own personal photos for a "desired client" and you will be editing them in Adobe Lightroom. Once you have taken the photos and made the appropriate edits, you will be showing your photos on your blog.
What needs to be posted on your blog when you are handing in your assignment:
- Title
- One image that has a fliter/editing that you like
- At least 6 before and after images that you took yourself and edited
- Reflection.
Reflection:
1. What was the inspiration behind the photos you took?
2. What elements and principles of design were incorporated when taking your photos?
3. What elements and principles of design did you choose to edit in your photos?
before.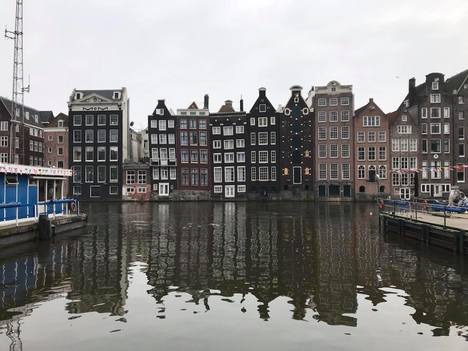
before.
|
after.
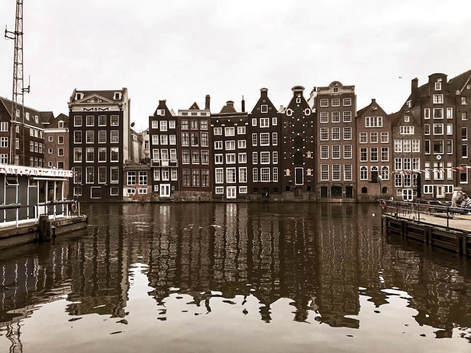
after.
after.

|
the information above is what you will be completing on your term 2 report card.
illustrator.
complete
final project. due december 7th
| DM 11- Final Illustrator Project |
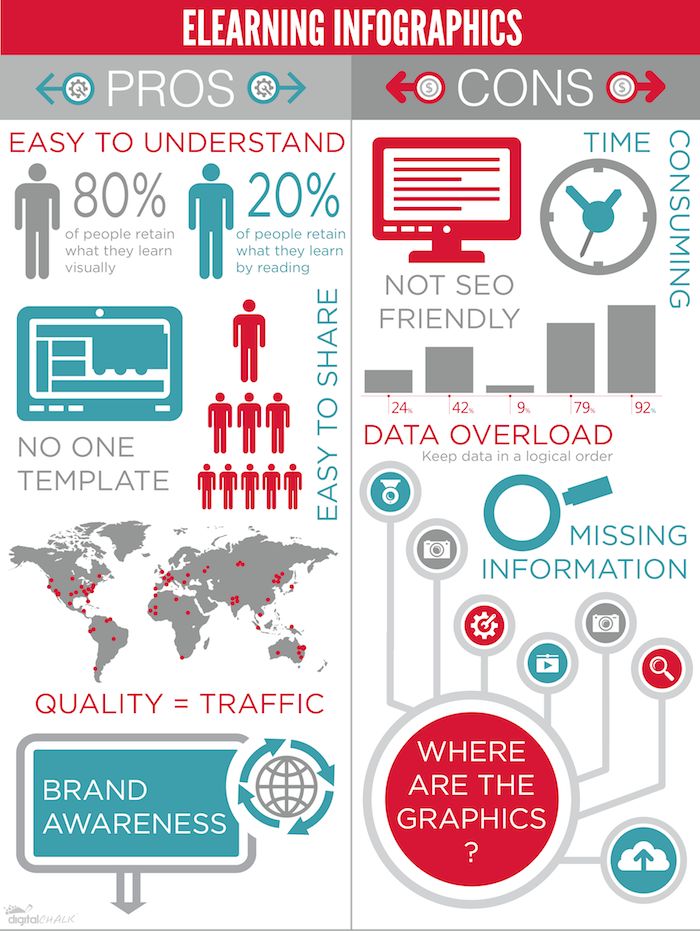
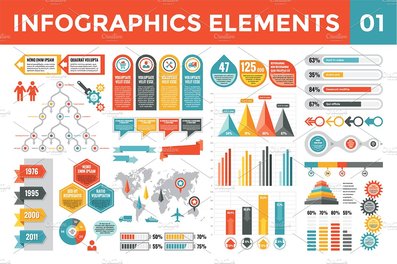
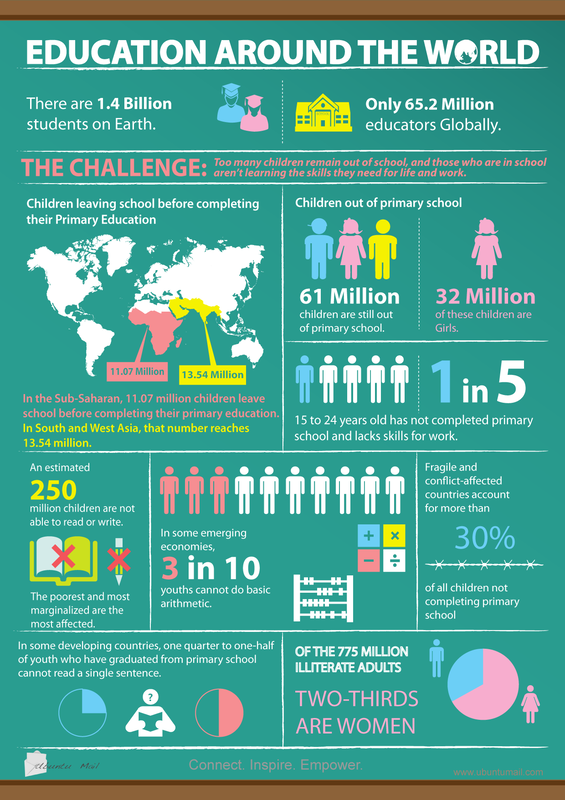
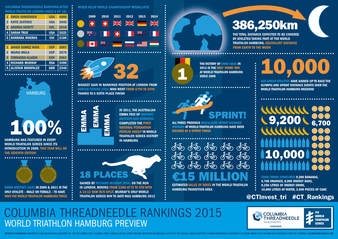
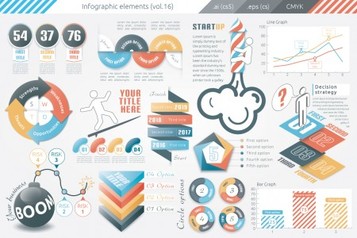
assignment 2: infographic
|
assignment 2: infographic peer feedback
|
assignment 2: infographic reflection
|
|
in this assignment your focus will be the cohesiveness of your typography and your pen tool skills.
1. pick your topic 2. find some currently infographics that you like to gain some inspiration for your personal infographic 3. Start to research information that you feel is valuable for your infographic 4. Sketch out graphics and a draft that will add emphasis for your infographic. Keep these and post them to your blog with your final infographic. Infographic Guidelines that were posted at the bottom of the section initially.
|
With your partner (given to you by Ms. Sihota) you are to record the following. This must be included on your blog when you post your final infographic.
1. Record the name of your partner. 2. Discuss what images helped you find inspiration and helped you put together your piece. 3. Show your partner your drafts. How has your infographic evolved since your first draft. 4. Your partner must give you one positive piece of feedback. 5. Your partner must provide you with one piece of feedback that will help you improve your infographic. |
Attached is the reflection that needs to be completed and posted to your blog along with the infographic in PNG form. A Illustrator copy/version must be dropped into Ms. Sihota's Hand-In folder on the shared drive.
Shared> Hand-In >B_Sihota > Digital Media > Infographics > P7 or P4
| ||||

|
|
lab 3: personalizing fonts.
|
in this lab you are to create outlines around your text. you are to use your "create outlines" function to add anchor points around each letter so you can personalize them, smooth them or change the colour of each individual letter.

|
Steps:
1. Open a new document. 2. Use your text box to write down your most inspirational quote, saying, catch phrase etc... 3. Select your text box using the black selection arrow. 4. Go to the tab up at the top where it says "type" 5. Select, "create outlines" Once you have selected this option, you'll notice that each individual letter has an outline with anchor points. Don't see it? Use your white arrow tool to select your letter and you'll eventually see it! 6. Use the skills and tools you have learned thus far to create a cool piece to go onto your blog. |
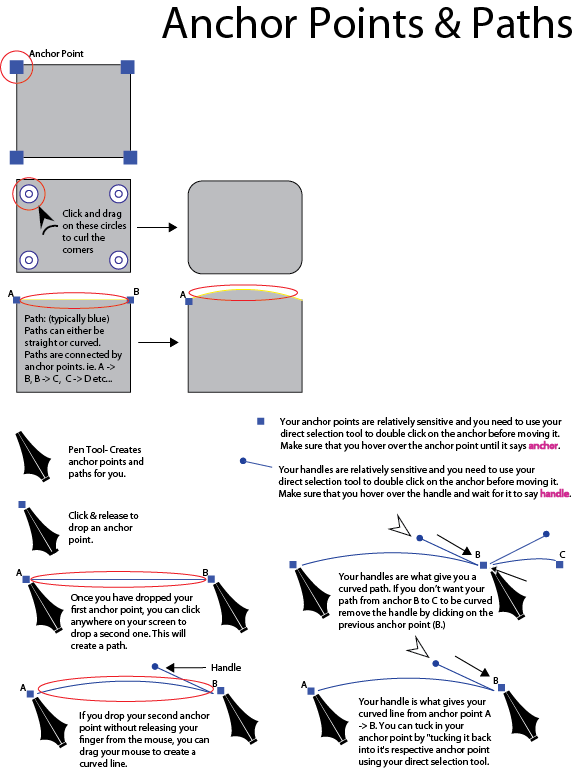
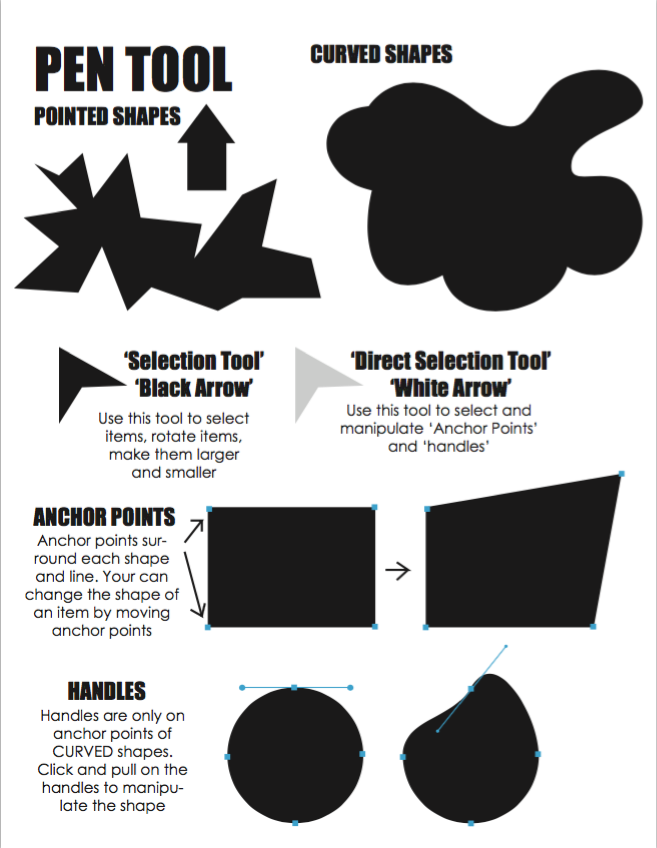
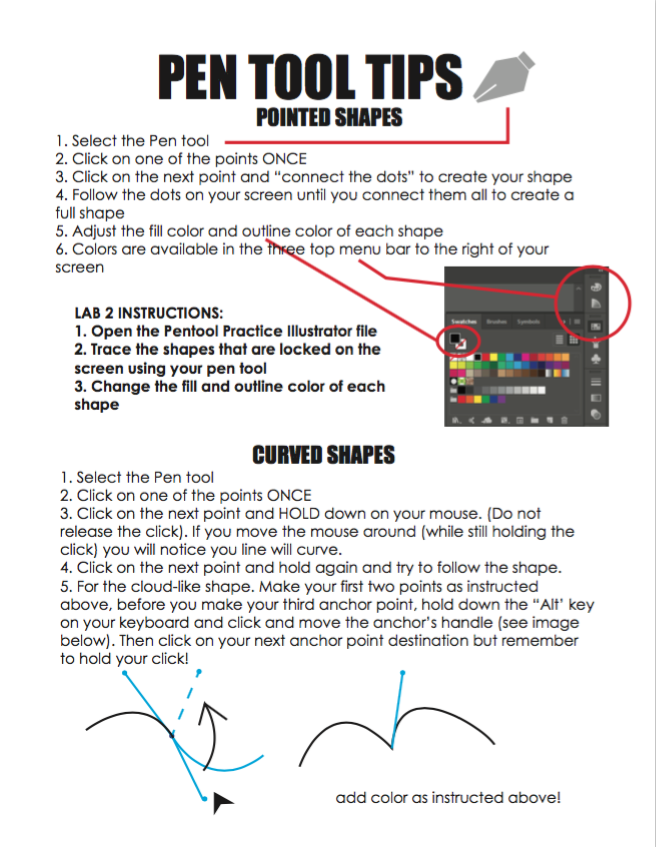
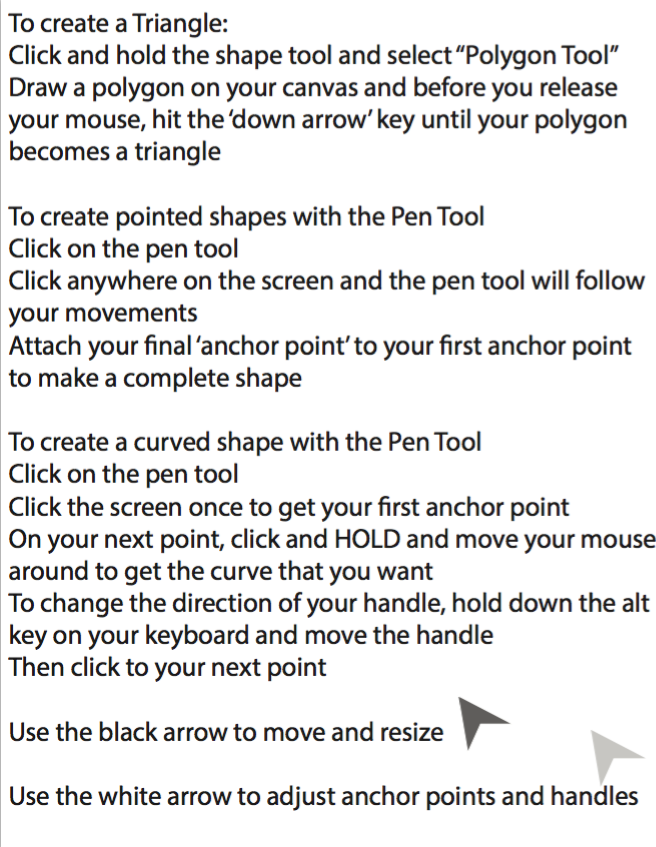
lab 2: using the pen tool. |
Pen Tool Game |
|
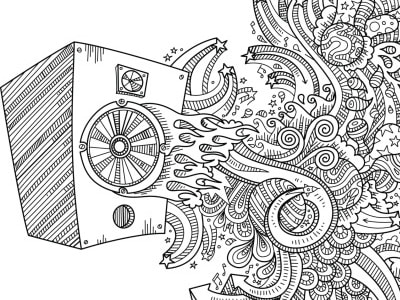
in this lab you are to use the pen tool and the pen tool only! use your anchor points and your handles to create a replica of the image you see here. please feel free to choose any colours that you would like! reference the guide below if you get stuck on how to use the pen tools.
|

|
|
assignment 1: working with colour.
|
In this assignment you will be choosing an image from Day of the Dead (line drawing) and will be learning how to use the "bucket tool" (live paint tool) in Illustrator. In this first assignment your focus is on the element of colour and a principle of your choice. Please reference the PowerPoint on colour.
Attached are the instructions to Live Paint Tool! Have Fun!
|

| ||||
lab 1: digital signature.

|

|
|
For those of you who have used Illustrator before, please feel free to skip "assignment 1: shape tool" and start directly on "assignment 1: digital signature." In this assignment you will be learning how to use the smooth tool to create your own signature and work with objects that could potentially be hand drawn.
Attached is a step by step guide on what you need to start your assignment. |
| ||||
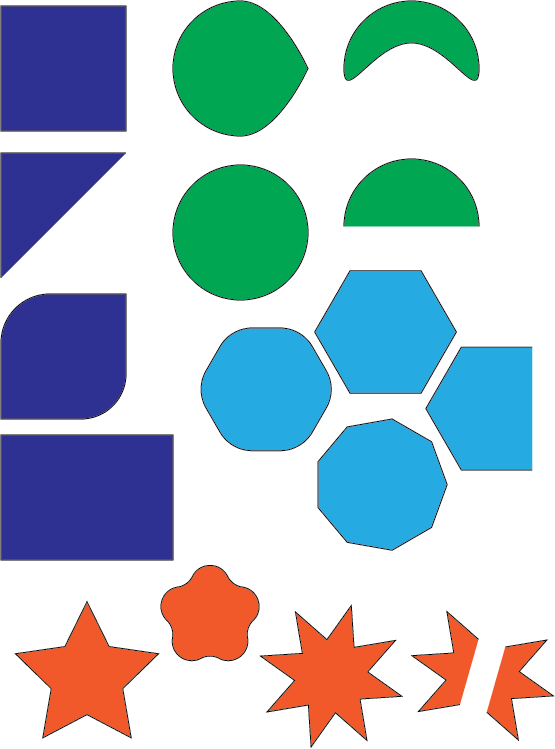
lab 1: shape tool.
For your first lab in Illustrator, you will copy the image that you see below. Using your shape tools, you can create the shapes below and many many more. Use your white arrow tool to delete and manipulate the anchor points in the shapes.
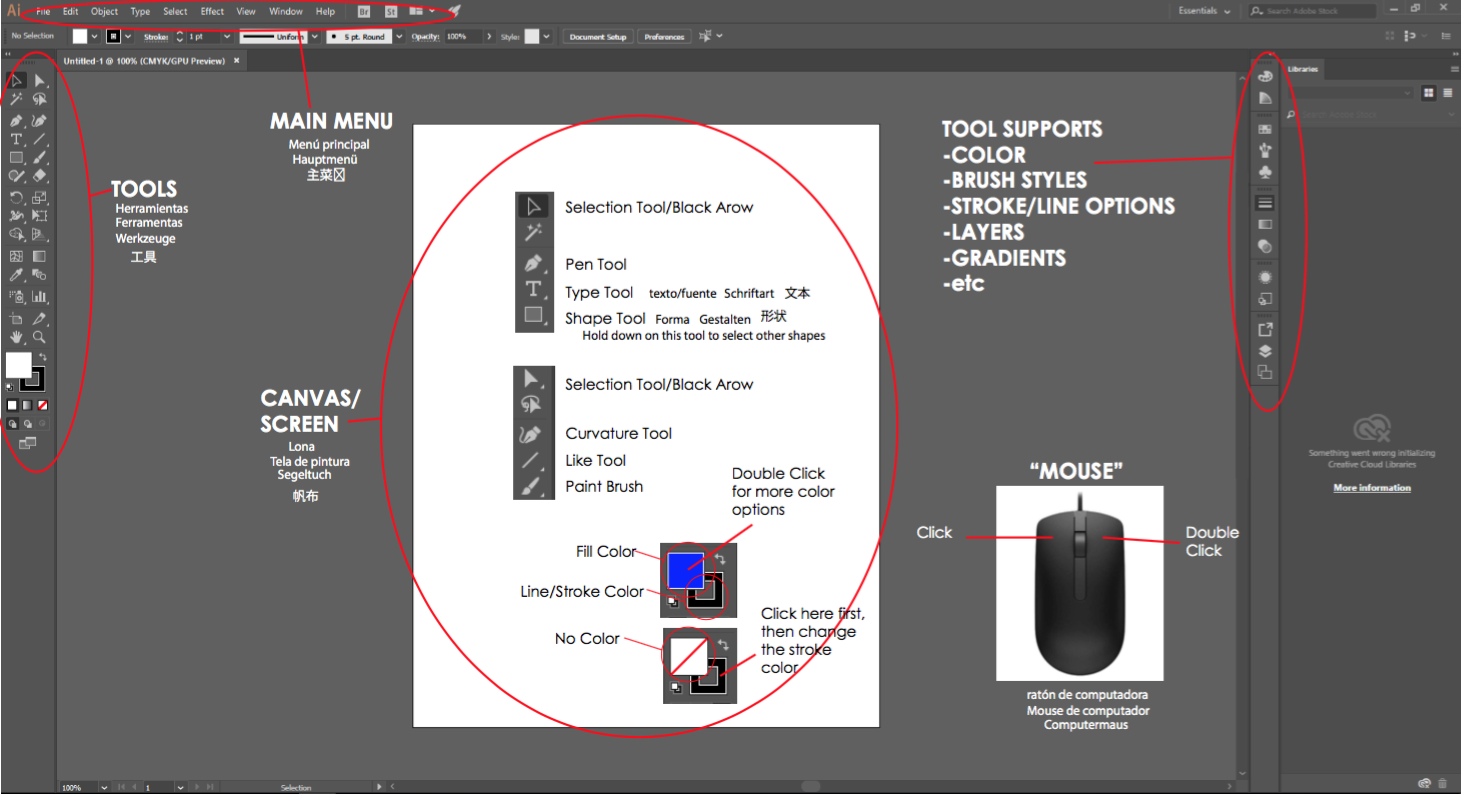
illustrator references.
|
|
|
elements & principles of design.
| DM 11- Elements & Principles of Design Vocab |
assignment 1: test your knowledge. match every element & principle of design to one of your favourite photos.
start with the following elements: shape, colour, line, texture, space
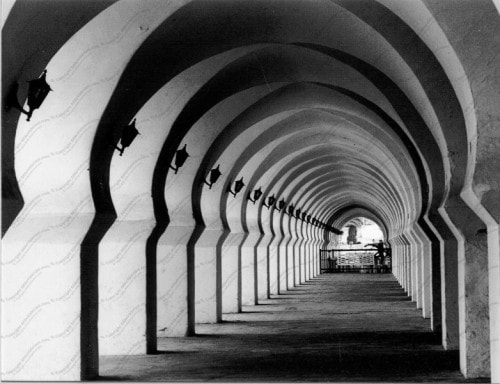
space.

|
|
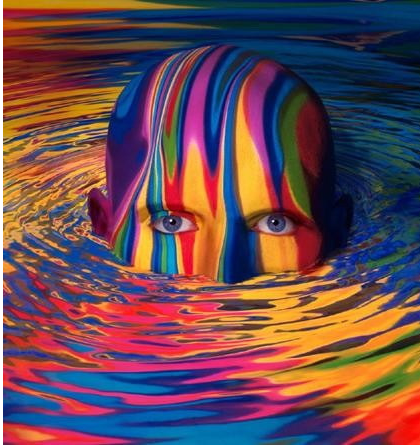

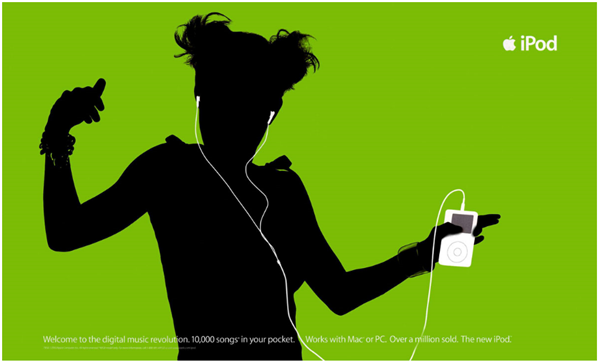
emphasis.
|
contrast.
|
repetition.
|
balance.
|

|
|
|

|
personal blog & digital platform.
| DM 11- Blog Requirements |
